
In today's digital landscape, reaching customers in areas with limited internet access is crucial. USSD technology remains the most reliable way to provide services to everyone, regardless of their device type. With UFlow, building these services has never been easier.
In this guide, we'll walk you through creating a simple USSD flow app—from the initial welcome screen to handling user inputs and providing information.
If you prefer a visual walkthrough, we've created a premium video tutorial that covers everything in this post. Check it out in our new Learning Center →
Step 1: Planning Your Flow
Before you touch the builder, it's important to map out your user's journey. What is the primary goal of your USSD app? Is it to collect information, provide a balance, or register a new user?
For this tutorial, we'll build a simple Service Inquiry app with three main options:
- Our Services
- Pricing Details
- Request a Callback
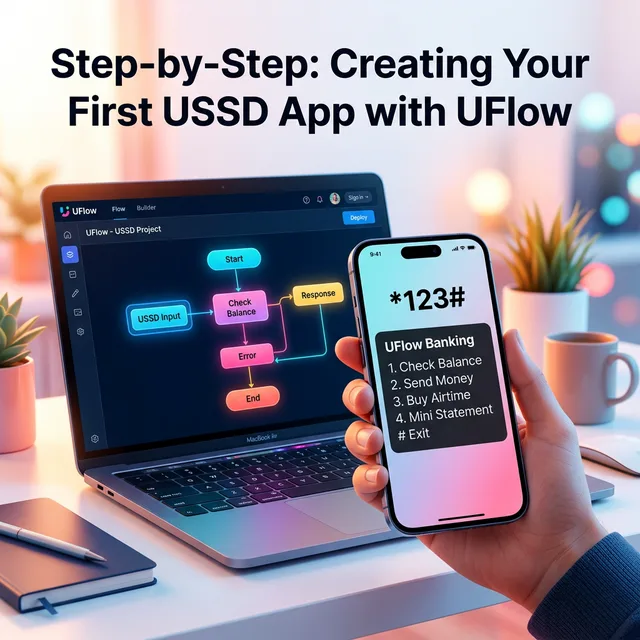
Step 2: Using the Visual Builder
Once you've logged into UFlow, click on "Create New App". You'll be presented with our drag-and-drop workspace.
Adding Your Start Node
The Start Node is the first thing your users will see when they dial your code. Double-click it to edit the welcome text. For our example, we'll use:
Welcome to UFlow Services.
1. Our Services
2. Pricing
3. Help
Connecting Branches
Each numbered option in your text should correspond to a connection from the Start Node to a new destination node. Simply click and drag from the output handles of the Start Node to create your flow.
Step 3: Handling User Input
When a user selects "Request a Callback", you'll want to collect their data. Drag an Input Node onto the canvas. This node will temporarily store the user's response (like their name or ID number) so you can use it later in the flow or send it to your external database.
Pro Tip: AI Assistance
Don't want to build it manually? Use the UFlow AI Assistant! Simply type: "Create a service inquiry menu with callback request" and watch the builder assemble the entire flow for you in seconds.
Step 4: Testing and Launching
The beauty of UFlow is the Real-Time Simulator. Before you deploy, you can "dial" your code in the side panel and interact with your flow exactly as a customer would. This ensures every link and input works perfectly.
Once you're happy, hit Publish, and your USSD service is live!
Ready to Dive Deeper?
Building USSD apps is an iterative process. As your business grows, you can add M-PESA payment nodes, API integrations, and complex logic branches.
For more detailed tutorials on advanced features, visit our archive of step-by-step guides.